Resources
*FOR ADDITIONAL RESOURCES FROM WOODGRAIN’S DISTRIBUTION DIVISION,
PLEASE VISIT WOODGRAINDISTRIBUTION.COM
CATALOGS, Sales Materials, & Tech Bulletins
DOORS
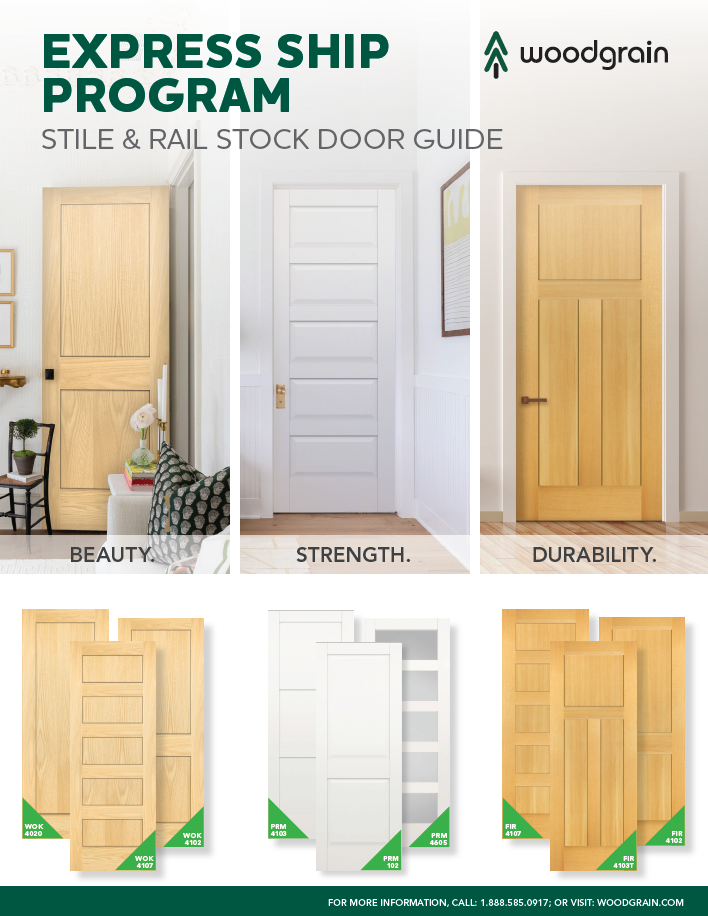
Express Ship Program
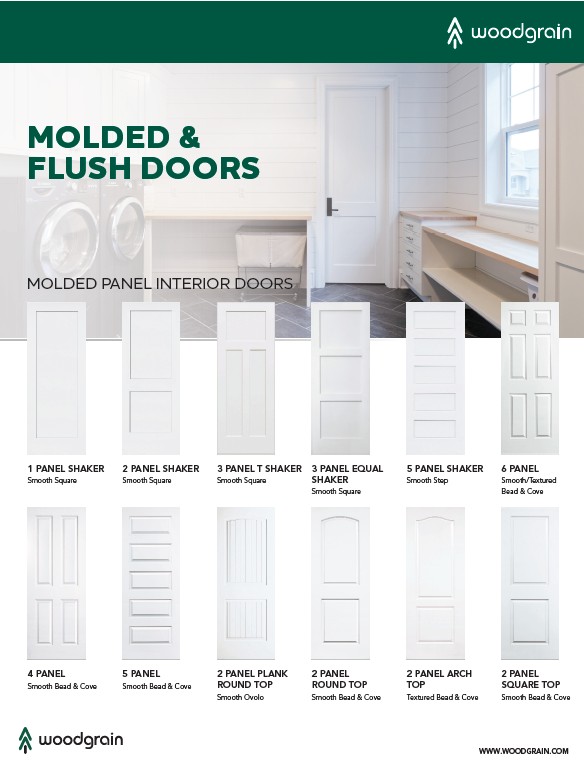
Molded & Flush Doors
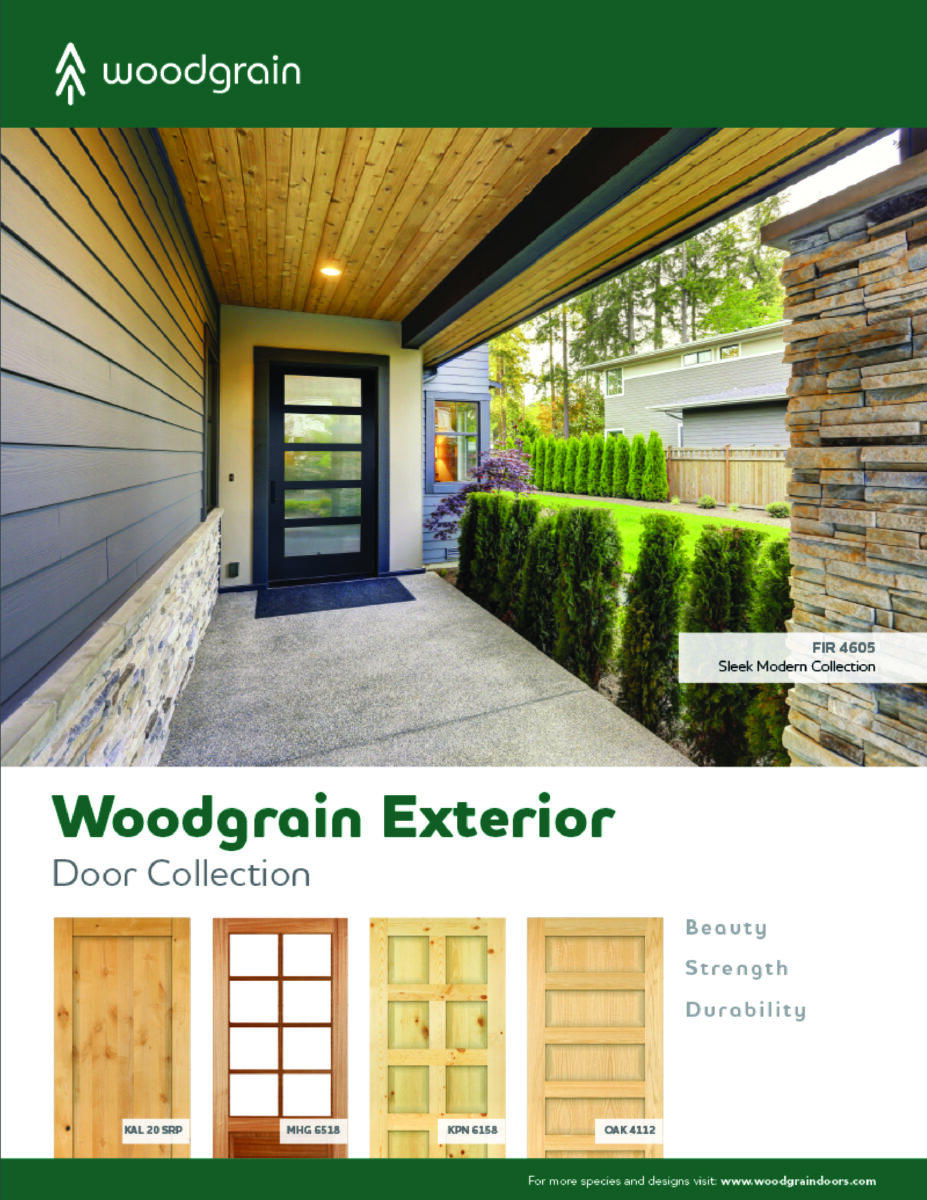
Exterior Doors
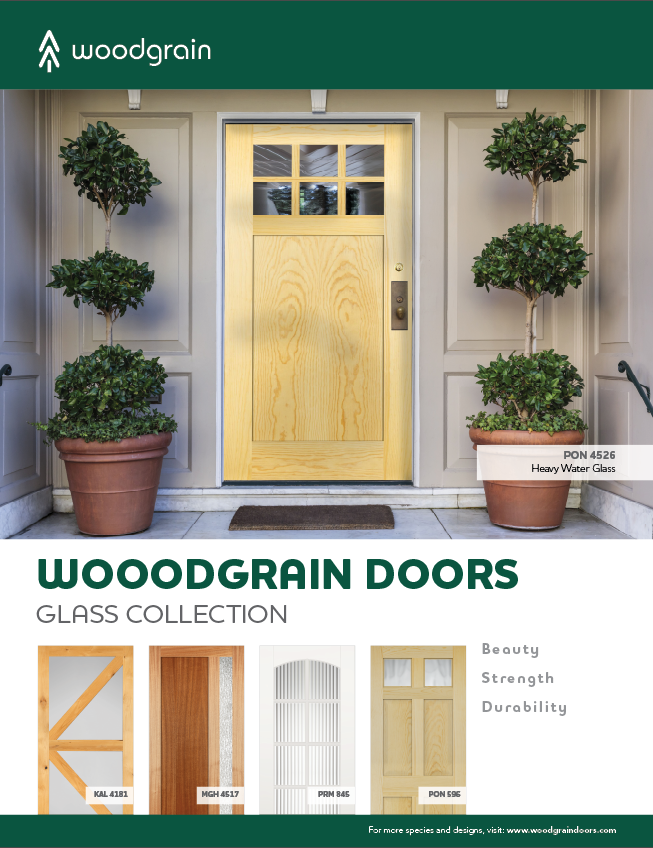
Decorative Glass Collection
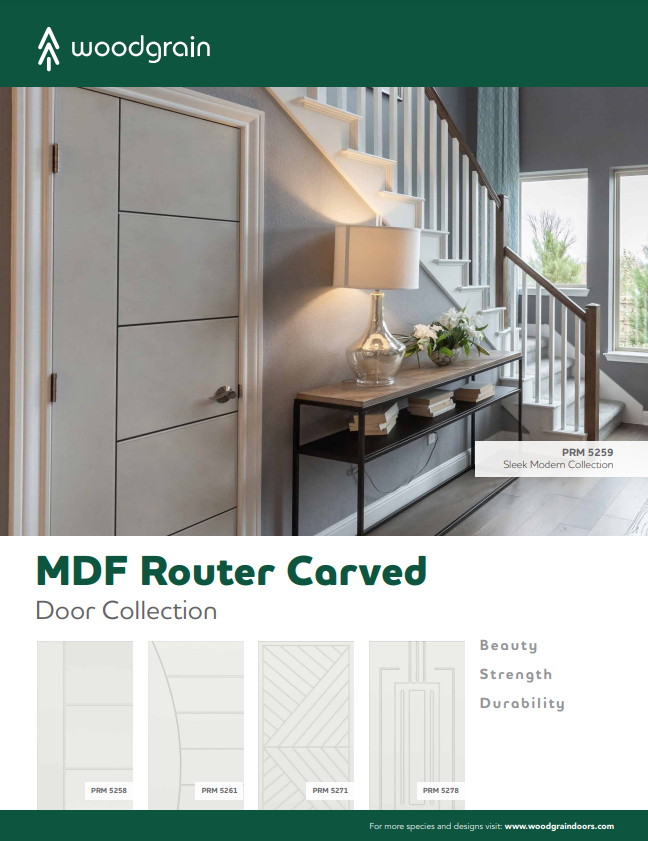
Router Carved Door Collection
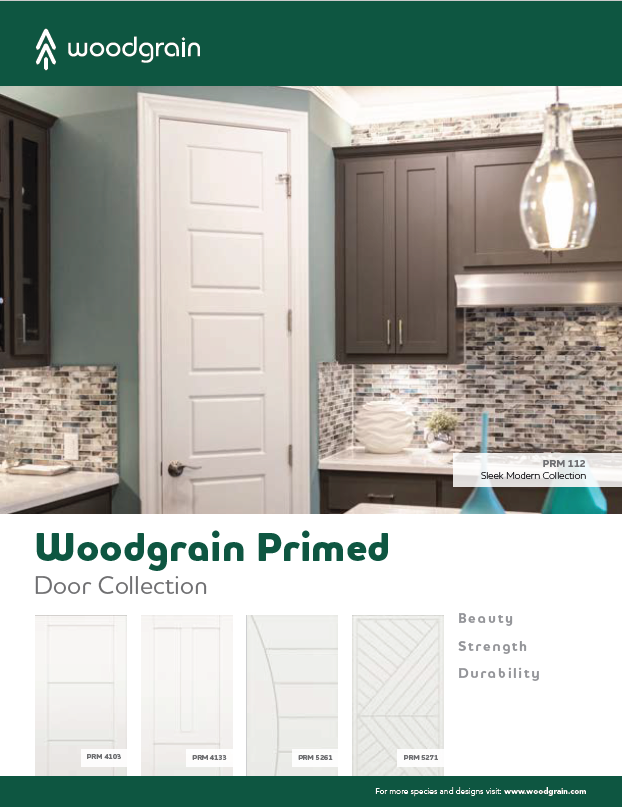
Primed Door Collection
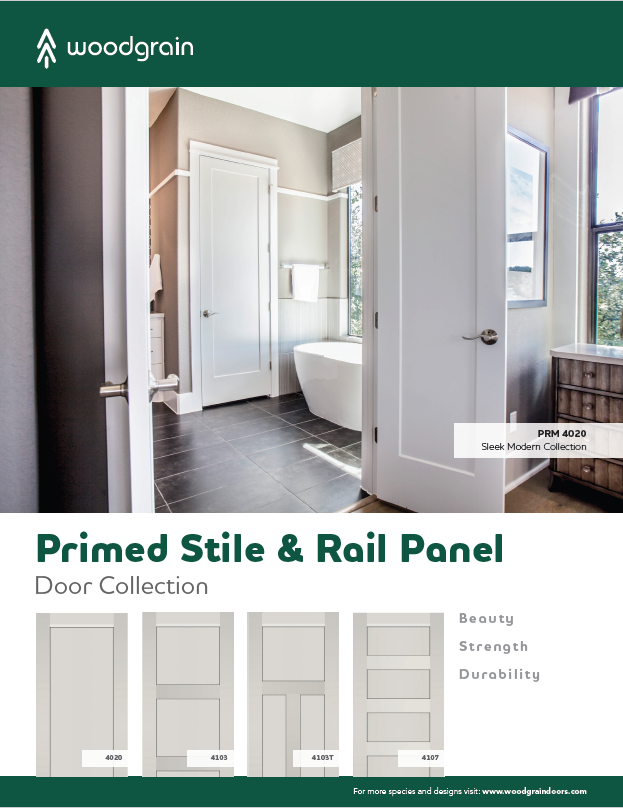
Primed Flat Panel Door Collection
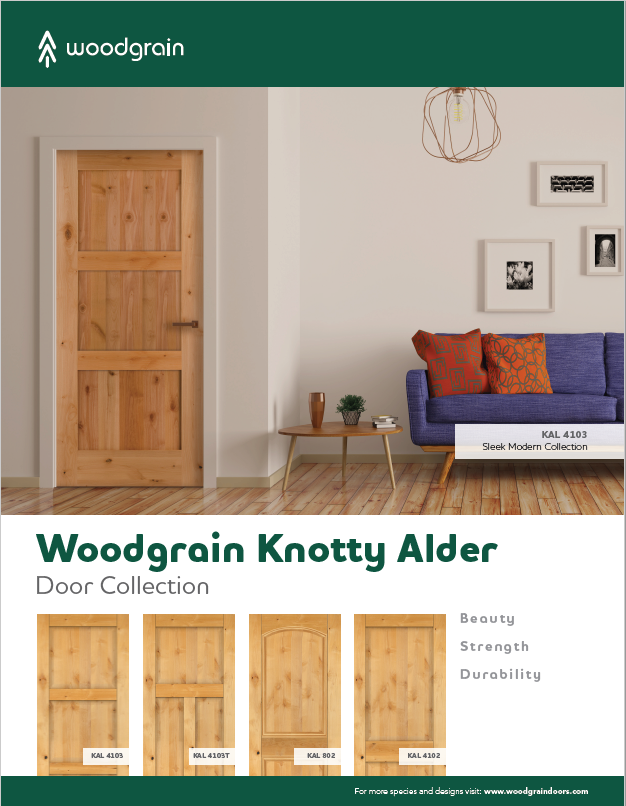
Knotty Alder Door Collection
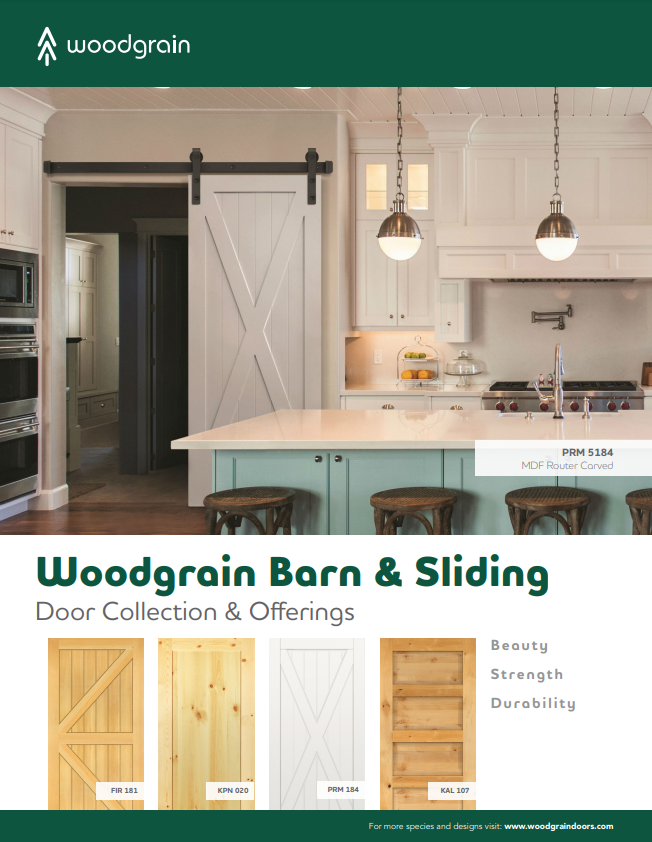
Barn Door Collection
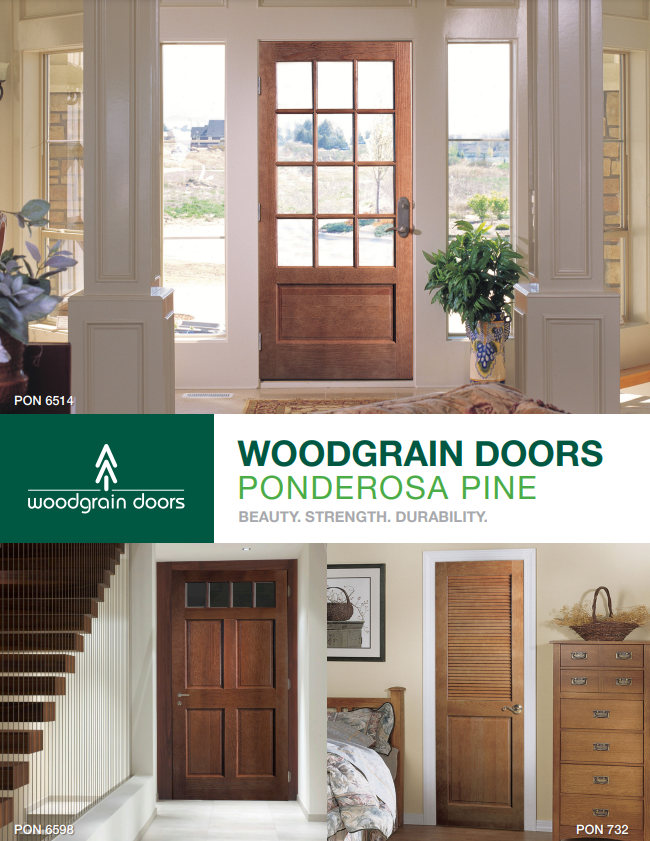
Ponderosa Pine Door Collection
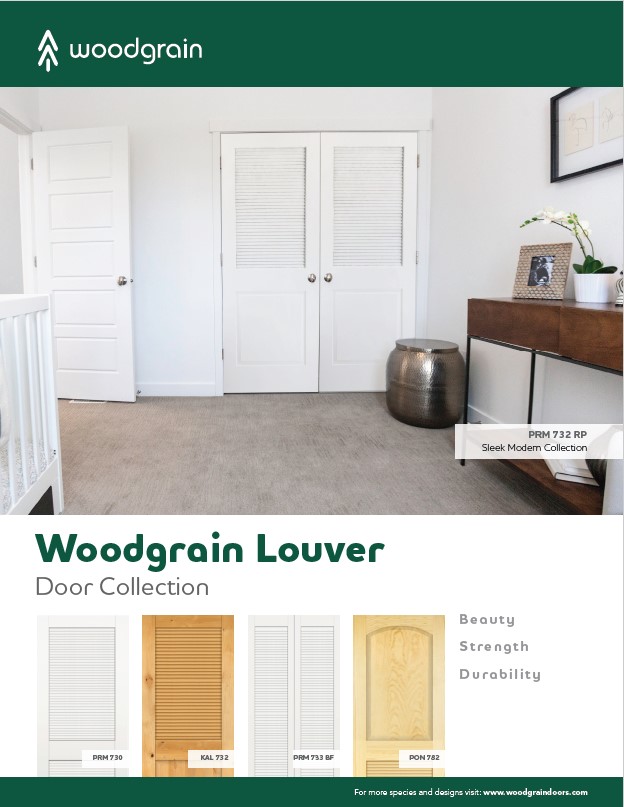
Louver Door Collection

Bellavista Collection Sell Sheet

Horizon Series Sell Sheet
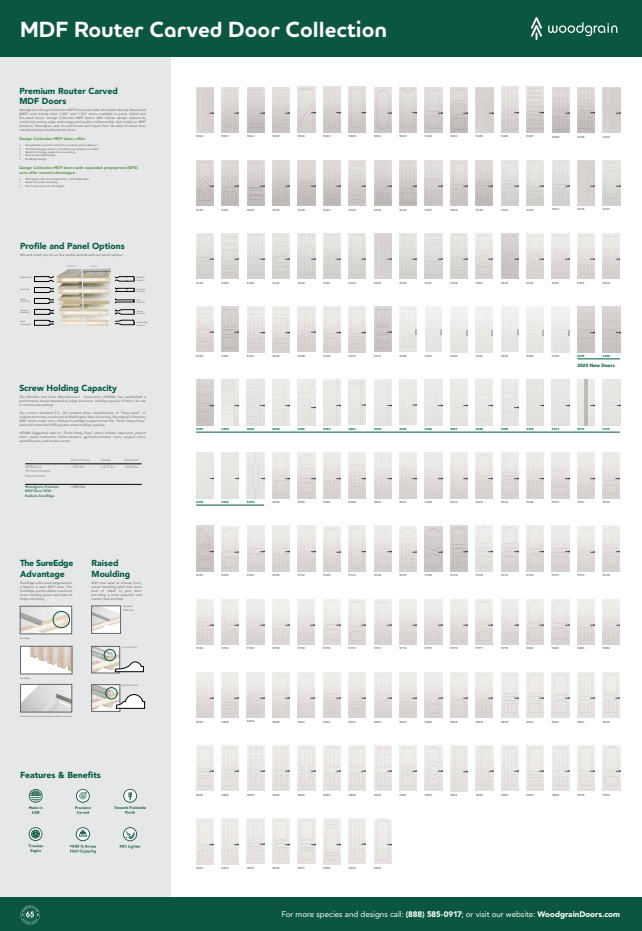
Router Carved Door Poster
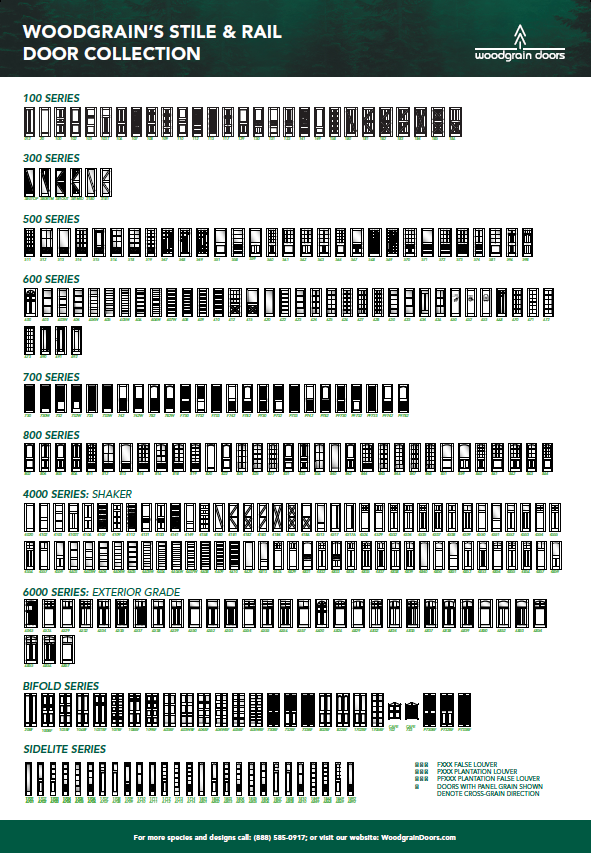
Stile & Rail Door Poster
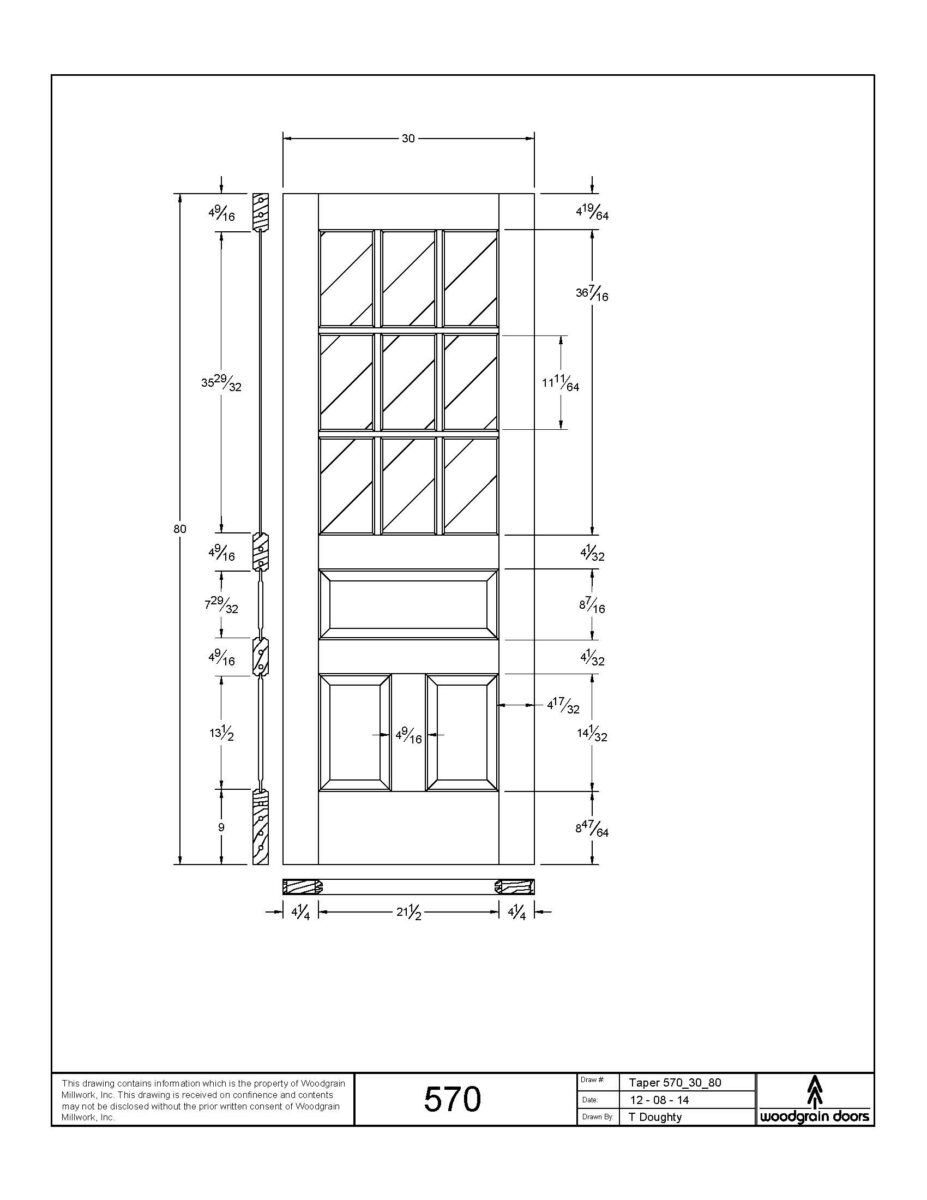
Door Technical Drawings
MOULDING + MILLWORK
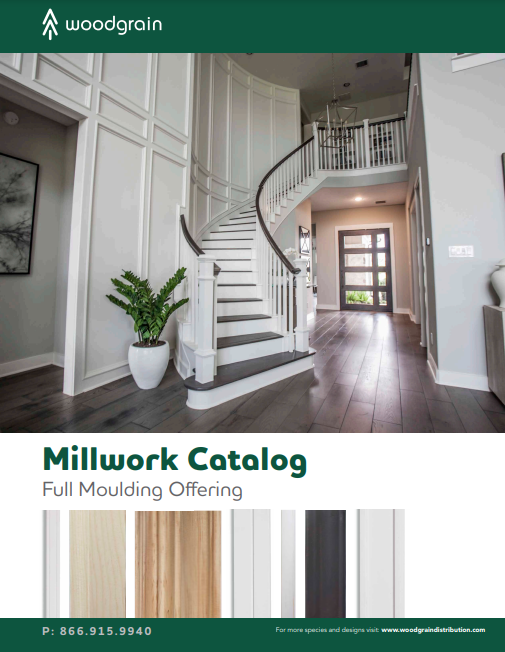
Millwork Catalog
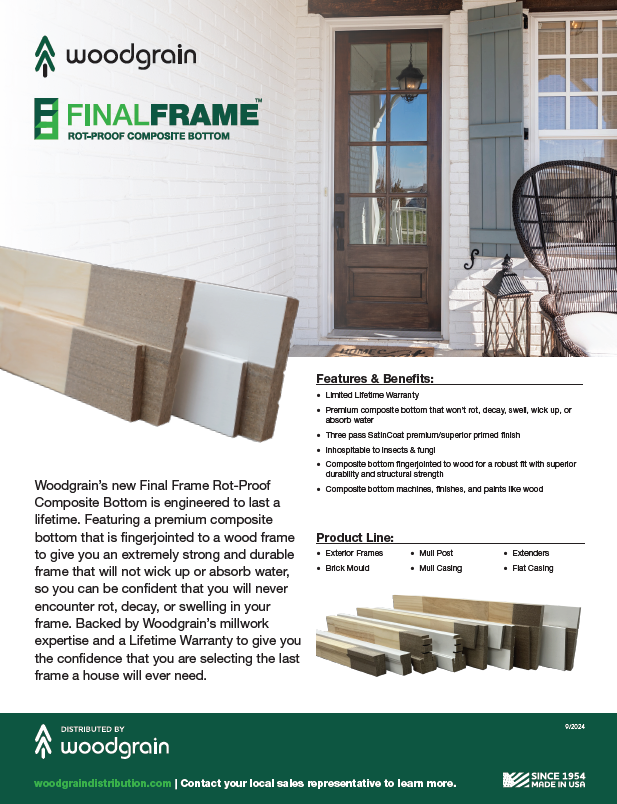
Final Frame Rot-Proof Composite Bottom
Woodgrain WARRANTIES
DOORS & FINAL FRAME Warranty Information
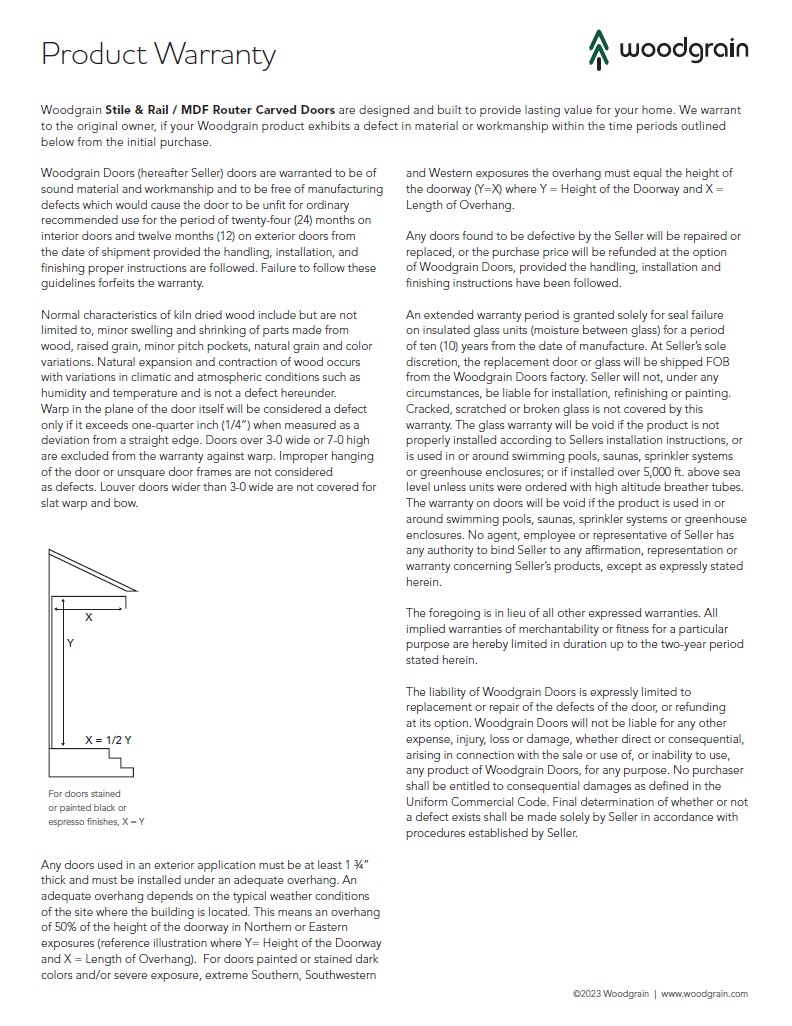
Woodgrain Stile & Rail / MDF Router Carved Door Warranty
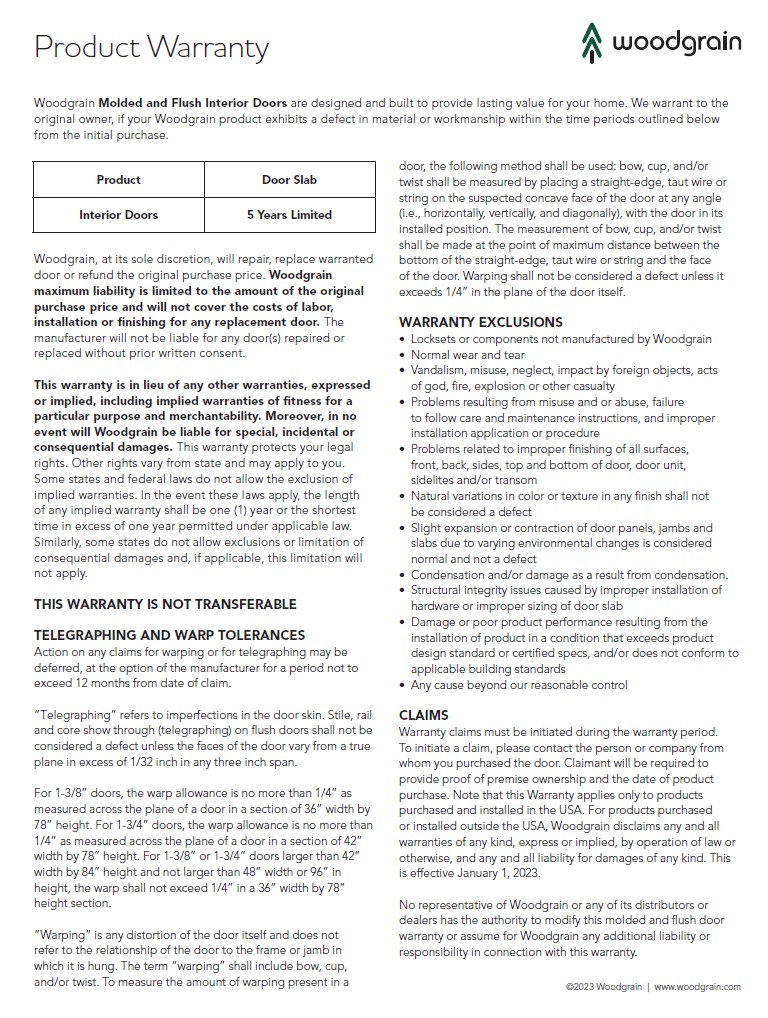
Woodgrain Molded & Flush Door Warranty
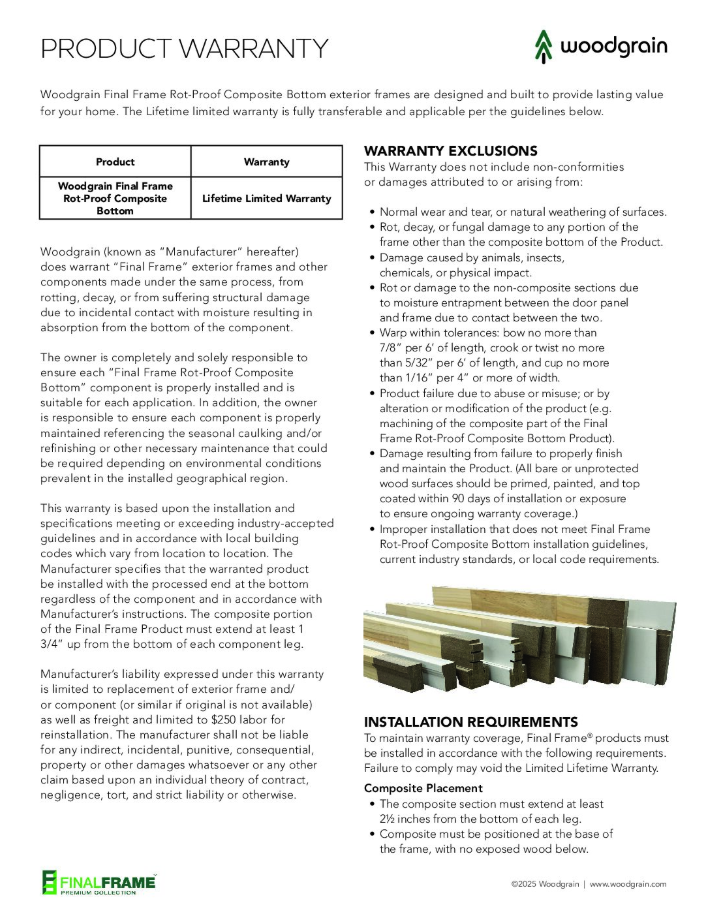
Final Frame Rot Proof Composite Bottom Warranty
HOW-TO’S
HOW TO FINISH DOORS
Preparation for Finishing
When staining, a wood conditioner or sander/sealer should be used to help achieve a more uniform finish. (Be sure to follow the wood conditioner manufacturer’s instructions closely.)
FIR doors should be surface treated with acetone product in advance of wood conditioner.
Before applying the first coat of finish, thoroughly sand the entire surface of the door with 180 grit sandpaper. This crucial step helps remove handling marks, fingerprints, fiber pop, natural grain raise, possible water or liquid marks (if exposed during shipping or while on the job-site during the construction phase) and evenly prepares open wood pores to help produce a more uniform finish.
Panels and bars oat and may become out of alignment during shipping and handling. Carefully take a block of wood and mallet and tap the components in alignment. Use caution not to damage the door or component during this process.
Clean door thoroughly with a cloth after sanding to remove all dust or foreign material. Avoid using compressed air to blow off door as moisture or oil in the air may cause spotting. Avoid using caustic or abrasive cleaners. Hang door before finishing it, then remove it to finish properly.
Exterior Finishing
STAIN-AND-CLEAR FINISH
When staining, a wood conditioner should be used to help achieve a more uniform finish. (Be sure to follow wood conditioner manufacturer’s instructions closely.) The first coat of stain may be a stain-and-sealer, a combination of stain and sealer which colors the door and seals the surface. It is available in a wide range of colors. (Dark color finishes should not be used on doors exposed to prolonged direct sunlight, as some expansion and contraction of door parts may occur. See warranty for detail.) The stain-and-sealer should have an alkyd-resin base. Under no circumstances should a lacquer-based toner or any other lacquer-based finish be used on exterior doors. The second and third coat (two top coats minimum) may be a solvent-borne (oil-base, alkyd resin-base, polyurethane resin-base) or a water-borne (latex resin-base) clear finish. On doors that are glazed, the finish used should be owed from the wood slightly onto the glass. This will provide assurance against water leakage and protect the glazing compound from drying out.
All stain-and-clear finishes will perform better if protected from the direct effects of sunlight and weathering, and refinishing will not be required as frequently. In areas of high exposure of sunlight and weather a marine grade top coat is recommended.
Interior Finishing
STAIN-AND-CLEAR FINISH
When staining, a wood conditioner should be used to help achieve a more uniform finish. (Be sure to follow wood conditioner manufacturer’s instructions closely.) A solvent-borne finish system is recommended for interior doors and may be a lacquer-based system. For best performance, a minimum of two clear top coats should be used over stains. All six sides of the door must be properly sealed for warranty to apply. Woodgrain Doors have plastic film protection on the glass, removal of plastic film protection immediately after applying the finish is required. Failure to remove the plastic film at this time may cause harm to the glass and will create difficulty in removing the film at a later time. Do not use razor blades or sharp objects to remove the lm or clean the glass. These items will scratch the glass.
PAINTED FINISH
Apply 2-3 coats of either oil-base or latex resin-base paints over 1-2 coats of an oil-base primer. (Latex or water base primer may contribute to raised grain and require extra sanding to achieve a smooth finish.) All finishes should be applied in accordance with the manufacturer’s instructions. All six sides of the door must be properly sealed for warranty to apply.
CAUTION: Woodgrain Doors cannot evaluate all the available paints and stains, nor customers’ specific application requirements. Your paint dealer should know of suitable finish systems that give satisfactory results in your region. It is highly recommended that top quality finishes be selected, and the application instructions on the container be followed explicitly.
Please do not use metal objects, (razor blades etc.) to remove caulking compound or paint and varnish residue. It is known to scratch the tempered glass. Please do not use compressed air to blow off wood doors, as condensation in the air lines may cause irregular finishing results.
Woodgrain Doors with Glass
Plastic film protection on the glass should be removed immediately after applying the finish. Failure
to remove the plastic film at this time may cause harm to the glass and may create difficulty in removing the film. Use caution to avoid scratching the glass while cleaning it. Glass that is scratched due to cleaning is not covered by the warranty. Film should be removed by scoring edges carefully under sticking or profile edge and peeled off by hand. SOP instructions for film removal available on request.
Glass Cleaning and Care Guidelines
Plastic film protection on the glass should be removed immediately after applying the finish. Failure
to remove the plastic film at this time may cause harm to the glass and may create difficulty in removing the film. Use caution to avoid scratching the glass while cleaning it. Glass that is scratched due to cleaning is not covered by the warranty. Film should be removed by scoring edges carefully under sticking or profile edge and peeled off by hand. SOP instructions for film removal available on request.
DO:
- Clean glass when dirt and residue appear
- Exercise special care when cleaning coated glass surfaces
- Avoid cleaning tinted and coated glass surfaces in direct sunlight
- Start cleaning at the upper level of glass and continue to lower levels
- Soak the glass surface with clean water and soap solution to loosen dirt and debris
- Use a mild, non-abrasive commercial window cleaning solution
- Use a squeegee to remove all of the cleaning solution
- Dry all cleaning solution from window gaskets, sealants and frame
- Be aware of and follow the glass supplier’s speci c cleaning recommendations
- Prevent conditions that can damage the glass
DON’T:
- Don’t use scrapers of any size or type for cleaning glass
- Don’t allow dirt and residue to remain on glass for an extended period of time
- Don’t begin cleaning glass without knowing if a coated surface is exposed
- Don’t clean tinted or coated glass in direct sunlight
- Don’t allow water or cleaning residue to remain on the glass or adjacent materials
- Don’t begin cleaning without rinsing excessive dirt and debris
- Don’t use abrasive cleaning solutions or materials
- Don’t allow metal parts of cleaning equipment to contact the glass
- Don’t trap abrasive particles between the cleaning materials and the glass surface
- Don’t allow other trades to lean tools or materials against the glass surface
- Don’t allow splashed materials to dry on the glass surface
HOW TO INSTALL MOULDING
STEP 1: TOOLS
The installation of moulding starts with having the right tools. The following are the most common tools needed for a safe installation of moulding:
- Miter Box, Miter Saw or Compound Miter Saw
- Finishing Nails, Nail Set, and a Hammer or Brad Nailer
- Wood Putty and Glue
- Tape Measure
- Coping Saw
- Framing Square
- Protractor
- Pen and Paper
- Utility Knife
- Ladder
- Safety Glasses
- Hearing Protection
STEP 2: MEASURE
Start by measuring the length of each wall and be sure to subtract any doors, windows, or openings. Add 15% to each wall to allow for miter cuts and waste. This will provide the amount of moulding needed for the project. It is also helpful to sketch the room while noting dimensions and corners.
STEP 3: MAKE YOUR CUTS
After purchasing the moulding, determine which piece and wall to start with. Identify what miter cuts will need to be made along with any splicing that may be required. When measuring a piece of moulding that will be mitered, add the width of the moulding to the measurement to allow for the miter cut.
STEP 4: INSTALL
Nail the moulding in place with finishing nails, and wait to nail the corners until all the moulding is installed. If the moulding ends without running into a wall, create a return. A return can be created from a scrap piece of moulding. Cut the proper angle on one end of the moulding and a 90-degree angle on the other end, forming a small triangular piece of moulding. Attach the piece with wood glue and tape it down until the glue dries.
HOW TO FINISH MOULDING
We recommend staining or painting the moulding before it is installed if possible. If you are painting existing moulding, pay close attention to steps 4-6.
- Fill any nail holes, repair scratches, dents, or damaged surfaces by sanding the area and using a non-shrinking filler such as caulking.
- Allow the filler to dry and lightly sanding the moulding will help paint and stain adhere better. Be sure to sand any sharp edges or angles. We recommended a 120 grit paper
- Caulking your seems makes a big difference and highly recommended. It gives it a finished look and will cover up any leftover gaps. When applying caulking, keep constant pressure as you apply to the seams. We recommend cutting your caulking tub tip at a 30-degree angle, A this will allow for better application.
- Use painters tape once the caulking is dry to mask off the areas you do not want to apply paint or stain. Be sure to apply pressure to the tape so the paint doesn’t seep underneath your tape lines.
- Staining and painting with a quality brush will yield better results. Don’t go cheap on the paintbrush, as you may find that bristles are falling out onto your moulding. We suggest a nylon or poly-nylon brush that are 2 to 2.5 inches in size are best suited for painting trim and mouldings. If using polyurethan, a small foam roller and foam brush are ideal.
- When staining, keep in mind that the stain will pool in cracks. Use a dry paintbrush to remove it for each piece after it’s been completely wiped. Wipe the brush on a clean rag or brush it on newspaper to clean of the stain between strokes.
- If a second coat is needed, make sure to wait until the first coat is completely dry. The time it takes to dry will vary on temperature and humidity.
*We recommend touching up the trim as needed once the project is complete.
Types of Finish
PRIMED, PREFINISHED AND FINISHED ELEGANCE
We offer a number of different species and types of mouldings along with finishes. Our Primed moulding is a pine finger joint moulding which is ideal for someone looking to paint the unit. With a white coat of primer, it covers up the imperfections and is ready to be painted. Our prefinished mouldings come in a number of colors and stains, Our diverse product offering covers all wood looks. The Prefinished product is ready to be installed, which save you time and money. Finished Elegance® is the premier interior moulding line that is easy to install and requires no painting – a truly finished product. As the only moulding coated on all four sides with Eastman Cerfis™ technology, Finished Elegance offers the most superior durability on the market. Perfectly finish any look with our
OIL VS. WATER-BASED TOPCOATS
Oil-based finishes are a little more durable than water-based, but the difference isn’t nearly as great as it was 10+ years ago. Oil will yellow unstained wood more compared to water-based products, which can be good or bad depending on the look you’re after. Yellowing isn’t an issue with stained wood. Water-based products dry faster, which helps keep dust from settling into the finish. Cleanup is easier with water-based products, and the odor isn’t nearly as strong.
POLYURETHANE VS. VARNISH
What’s the difference between polyurethane and varnish? Varnish contains a resin and a solvent (oil or water). Once varnish is applied to wood, the solvent evaporates and the protective resin is left behind. Varnish can contain one of a few different resins, and polyurethane is one of them. Varnish that contains polyurethane just goes by the name polyurethane. The upside to polyurethane is that it’s tougher (like a plastic coating) than the other varnishes. The downside is that it can appear cloudy when it’s applied too thick, and it’s harder to sand between coats.
SIZE CHARTS
MOULDING
Consider the size of your space when purchasing moulding. As you can see based on the chart below, the taller the space, the wider the moulding can be.
| Ceiling Height | Casing | Base | Crown |
| 8’ | 2-1/4” | 3-1/4” | 3-5/8” |
| 9’ | 2-1/4” – 3-1/4” | 4-1/4” – 5-1/4” | 4-1/4” – 5-1/4” |
| 10’ | 2-1/4” – 3-1/4” | 4-1/4” – 5-1/4” | 4-1/4” – 5-1/4” |
| 11’ | 3-1/4” – 3-1/2” | 5-1/4” – 7-1/2” | 4-5/8” – 5-1/6” |
| 12’ or more | 3-1/4” – 3-1/2” | 7-1/4” | 7” |
GLOSSARY
Adhesive Performance Levels
The Standard Specification for Adhesives used in Nonstructural Glued Lumber Products, designated D3110-72 by the American Society for Testing and Material (ASTM), establishes acceptable performance levels for glues or adhesives to be used in nonstructural glued lumber products. Such products include, but are not limited to interior and exterior mouldings, window and door stock, and glued lumber panels. In this specification adhesives are classified on the basis of two performance levels, wet-use and dry-use.
Astragal
This moulding includes two different types, a T-Astragal and a Flat Astragal. Both are attached to one of a pair of doors to keep the other door from swinging through the opening. The flat astragal, can also be used for decorative purposes to cover a joint or separation.
Back Band
A rabbetted moulding used to surround the outside edge of casing. Adding a back band will add depth to the casing where it meets a base moulding that is thicker than just the casing.
Backed Out
To groove or remove a portion of the wood on the unexposed face of a wood member to better fit over irregular surfaces; also called, hollow-backed.
Base
Applied where floor and walls meet, forming a visual foundation. Protects walls from kicks and bumps, furniture and cleaning tools.
Base Cap
A decorative member installed flush against the wall and the top of an S4S baseboard. Also a versatile panel moulding.
Base Shoe
Applied where base moulding meets the floor to protect the base moulding from damage by cleaning tools and conceals any uneven lines or cracks where base meets the floor.
Batten
A symmetrical pattern used to conceal the line where two parallel boards or panels meet.
Bullnose
The rounded end or edge of a board such as a stair tread or shelf.
Cased Opening
An interior opening without a door but wrapped with a jamb and casing.
Casing
Used to trim both sides of doors, windows, and large openings such as cased openings.
Chair Rail
An interior moulding applied about a third up the wall from the floor, paralleling the base moulding and encircling the perimeter of a room. Originally used to prevent chairs from marring walls. Used today is as a decorative element or a divider between different wall covering such as wallpaper and paint or wainscoting.
Champher Strip
A triangular moulding often used in concrete forming work to support the corners of the forms.
CLF
Abbreviation for “hundred lineal feet.”
Coped Joint
A joint at the meeting of moulded members.
Coping
Carpentry process by which a moulding such as a crown is sawn on the adjourning end to fit over the face profile of the second member. Used where mouldings join at 90-degree angles on a wall or ceiling installation.
Corner Guard
Inside or outside corners used to protect the corners, cover ragged edges or uneven joints where wall coverings painted or contrasting surfaced walls.
Cornice
Exterior trim used at juncture of outside wall and roof. Also describes interior trim used where walls and ceiling meet (crown, cove, bed moulding).
Cove
A concave profile used at corners, particularly as a ceiling cornice. Small coves may be used as an inside corner guard.
Crown and Bed Mould
Used where walls and ceiling meet. Crown mouldings are used to cover larger angles. Crowns are always “sprung” while beds are either “sprung” or plain. A “sprung” moulding has the interior corner beveled off to better fit a right angle joint.
Cut Stock
Small pieces of surfaced, partially worked, or rough lumber, available in specified sizes suitable for manufacturing into millwork products.
Cutter Head
Fitted with moulding knives, cutter heads are installed in molders where they rotate at high speeds to shape the moulding profiles.
Dentil
A series of small square blocks uniformly spaced and projecting like teeth. Often used in a cornice or mantel treatment.
Dimensional Stability
The ability of material to maintain its original dimensions under variations of temperature, moisture, and physical stress.
Door Frame
A group of wood parts machined and assembled to form a door enclosure from which and exterior door is hinged.
Door Jamb
A group of wood parts machined and assembled to form a door enclosure from which and interior door is hinged. See also: split jamb; flat jamb; header; hinge jamb; rabbeted door jamb; strike jamb
Door Trim
Trim for a door opening usually consisting of casing.
Drip Cap
Applied over the exterior window and door frames, to keep water from seeping under the siding and directing it away from the door or window. Also makes an attractive contemporary interior door and window casing.
Drip Groove
A semicircular grove on the underside of the drip cap or the lip of a window sill which prevents water from running back under the drip or sill.
Dry-Use Adhesive
An adhesive capable of developing sufficient strength and durability to make the glued lumber product serviceable under ordinary conditions of nonstructural use, when the Equilibrium Moisture Content (EMC) does not exceed 16% and the temperature may reach 165 degrees Fahrenheit (74 degrees Celsius) for as long as 6 hours during shipment or no greater that 140 degree Fahrenheit (60 degrees Celsius) continuously during service.
Eased Edge
A slightly rounded corner which reduces splintering.
Exterior Trim
Trim used on the exterior of a structure.
Face
Outer or exposed surface from which grade is determined.
Face Measure
The measurement across the face of any wood part exclusive of any solid mold or rabbet.
Factory or Shop Lumber
An industrial lumber grade.
Fillet
A narrow band of wood between two flutes in a wood member; a flat, square moulding separating other mouldings.
Finger Joint
A joint made by cutting away interlocking fingers in the ends of two adherents and bonding the adherents with the cut areas fitted together to form longer pieces.
Finger Jointer
Machinery which cuts, glues and joins the fingers in fingerjointed lumber or cut-stock for mouldings and millwork.
Finish
With multiple meanings, it can mean the interior or exterior finish of a structure, the finish or actual size of a piece of lumber, the protective coating given a wood member, or the select grades of softwood lumber.
Flat Jamb
A four-sided jamb surface where a separate wood stop may be applied. Also referred to as a one-piece jamb.
Flute
A long, rounded groove machined along the grain of a wood member.
Glass Bead
Used to hold glass in place.
Grade
Wood moulding and jambs are available in two standard grades. See also: N-Grade; P-grade
Grain Printed
A method of pre-finishing mouldings where the moulding receives a color coating, is printed with a wood grain, and top-coated for durability.
Half Round
A moulding with a profile that is a half circle with many purposes such as shelf edge, panel mould, screen mould or a bead.
Hand Rail
Used as a hand support in a stairwell.
Hardwood
Hardwoods are one of the botanical groups of trees that have broad leaves in contrast to the needle-like leaves of the conifers or softwoods.
Header
The horizontal member forming the top of the opening.
Hinge Jamb
Side jamb in which the door hinges (butts) are applied.
Interior Trim
Trim used on the interior of a structure; sometimes referred to as interior finish
Jamb Liner
A small strip of wood, either surfaced four sides or tongued on one edge, which, when applied to the inside edge of a window jamb, increases its width.
Joints
See: Coped Joint; Dado joint; Finger Joint; Laminate Joint; Miter Joint
Kerfing
Longitudinal saw cuts of machined grooves of varying depths (dependent on the thickness of the wood member) made on the unexposed faces of millwork members to relieve stress and prevent warping.
Knee Wall Moulding
A crown like moulding suitable for installation at oblique joints.
Knots
A portion of a branch or limb that has become incorporated in a piece of lumber. In lumber, knots are classified as to form, size, quality and occurrences. A red knot is one that results from a live branch growth in the tree and is inter-grown with the surrounding wood. A black knot is one that results from a dead branch which the wood growth of the tree had surrounded.
(a) A pin knot is not over 1/2″.
(b) A small knot is not over 3/4″.
(c) A medium knot is not over 1-1/2″.
(d) A large knot is over 1-1/2″.
(e) A sound knot contains no decay. It may be red or black.
(f) A tight knot is so fixed by growth, shape or position that it retains its place in the piece. It may be red or black.
(g) A “loose” or “not firmly fixed” knot is one not held tightly in place by growth, shape or position.
(h) A “fixed” knot will retain its place in dry lumber under ordinary conditions but can be moved under pressure through not easily pushed out.
Lattice
Originally used in trellis work, this small plain, S4S moulding is among the most versatile of profiles.
Lineal Foot
A measure of length stated in feet or metric.
Millwork (woodwork)
Products primarily manufactured from lumber in a planning mill or woodworking plant. Includes; mouldings, door frames and entrances, blinds and shutters, sash and window units, doors, stair-work, kitchen cabinets, mantels, china or corner cabinets, and porch work.
Millwork Estimate
The number, sizes, types, and cost of millwork items required for a construction job or structure.
Miter Box
A tool, often fitted with a back saw, which is used to cut accurate angles for tight fitting miter joints.
Miter Joint
The joining of two members at an angle that bisects the angle of junction. In mouldings this is most often a 45 degree angle.
Moisture Content
The weight of the water in wood expressed in percentage of the weight of the oven-dry wood.
Moulded
Worked into a form of shape and referring to a wood member other than those “surfaced four sides.”
Moulder (sticker)
A woodworking machine designed to run mouldings and other wood members with regular or irregular profiles.
Moulding Series
Mouldings of a certain pattern and size to which individual numbers have been assigned.
Mullion Casing
The strip which is applied over the window jambs in a multiple opening window. Sometimes called a panel strip and used for decorative wall treatments.
N-Grade
Intended for natural or clear finishes and the exposed face must be of one single piece.
Nosed
A rounded edge.
Occasional Pieces
Means not more than 10% of the pieces in a parcel or shipment.
Ogee or O.G.
Having an “S” shaped or reverse curve profile; the “ogee” arch was pointed with an “ogee” curve on each side.
Ovolo
A convex profile usually a quarter section of circle similar to the profile of quarter round.
P-Grade
Intended for opaque paint finishes or overlays and can be fingerjointed and or edge glued.
Packaged Millwork
The wrapping or packaging of millwork items. May be in paper cartons or shrink wrapped in plastic film.
Pairs
Term used to describe the two side members of door jambs, frames, or casing trim.
Panel Divider
A moulding which separates two vertical wood panels along their common edges.
Parting Stop
A small strip of wood let into the plough of the jambs of a double hung check-rail window frame to separate the top sash from the bottom sash; also parting bead, parting strip, or check strip.
Pitch Streak
A well-defined accumulation of pitch in the wood cells in a more or less regular streak. It should not be confused with dark grain.
Picture Frame Moulding
Rabbeted moulding forming a frame for pictures.
Picture Mould
Used to support hooks for picture hanging. Applied around a room’s circumference near the ceiling line.
Piece
A term used to describe cut-to-length mouldings sold by the piece rather than per hundred lineal feet.
Pilaster
A rectangular, circular or semi-circular member used as a simulated column in entrances and other door openings and fireplace mantels; usually contains base, shaft and capital.
Pitch
An accumulation of resinous material.
(a) Light pitch is the light but evident presence of pitch.
(b) Medium pitch is a somewhat more evident presence of pitch than is the light.
(c) Heavy pitch is a very evident accumulation of pitch showing by its color and consistency.
Plinth Block
A block at the base of a pilaster; a block of wood placed at the bottom of side door casing to terminate the casing as well as the base. Since the door casings and bases are moulded, plinth blocks offer a good looking, sturdy member which solves the problem of joining casing and base mouldings with different profiles. Plinth blocks are thicker and wider than the abutting members.
Plant on Moulding
A moulding applied to a surface which projects or remains above it. An applied moulding.
Plow
A rectangular slot of three surfaces cut with the grain of the wood.
A well-defined opening between the rings of annual growth which develops during the growth of the tree. It usually contains pitch or bark.
Prefinished
Millwork with an applied finish coating. May be grain printed, vinyl wrapped, toned or in a solid opaque color.
Prehung Door Unit
A precut and assembled unit consisting of a wood door with the locking or passage hardware that is hung on hinges in a wood frame. The wood frame includes the one or two piece jamb either in adjustable or pre-ordered widths as well as the door stop mouldings and casings.
Preservative
Any substance that, for a reasonable length of time, will prevent the development and action or wood-destroying fungi, borers of various kinds and other harmful insects that deteriorate wood.
Prime Coat
The first coat of paint in an application that consists of two or more coats; also refers to the paint used for such an initial coat; priming; primer; paint-primed.
Primed
A wood part which has been coated with paint primers either in the factory or on site.
Quarter Round
Versatile quarter round may be used as a base shoe, inside corner moulding or to cover any 90 degree recessed junctures. Often used to cover the line where roof and siding meet on exteriors.
Rabbet
A rectangular cut where two surfaces are cut on the edge of a member parallel with the grain. On a door jamb the rabbets would form a built-in stop on the face of the jamb.
Rabbeted Door Jamb
A jamb with a rabbet on one or both edges. If both edges are rabbeted, “double-rabbeted door jamb.” If one edge is rabbeted, “plain rabbeted door jamb.”
Raised Moulding
A moulding not on the same level or plane as the wood member or assembly to which it is applied; as contrasted to “flush moulding.”
Rake Moulding
A moulding applied to the rake or the exposed inclined ends of a gable roof; term is sometimes applied to any moulding installed in a direction other than horizontal or vertical; also barge moulding.
Random Lengths (RL)
Unspecified lengths as contrasted to “specified lengths.”
Return
Continuation in a different direction of a moulding or projection, usually at right angles.
Reveal
That portion of the moulding and or jamb that is exposed when two members are joined, such as when casing is applied against the jamb.
Rough Lumber
Lumber that has not been dressed or surfaced but which has been sawed, edged and trimmed at least to the extent of showing saw marks in the wood.
Round Edge
The corners of a piece shaped to a radius; generally implies a greater radius than for an “eased edge”; shaped primarily for appearance.
Running Trim
Interior of exterior trim ordered in linear of lineal measurement and which extends for runs around the perimeter of a room or structure; as opposed to standing trim.
Sapwood
Outer layers of growth between the bark and the heartwood which contain the sap.
Scotia
A deep concave moulding more than 1/4 round.
Screen Moulding
A small moulding which covers the seam where screening is fastened to the screen frame.
Screen Stock
A S4S moulding originally used in the construction of screens. Used extensively in cabinet work and finished carpentry where a clear strip is required. Many times referred to as S4S stock.
Sets
Mouldings or jambs sold as a unit or two sides and a header, usually for installation around a door opening.
Shelf Cleat
A moulding commonly used in closets to support the shelves, also shelf strip.
Shingle/Panel Mould
A decorative patter, originally used to trim out raised panel wall construction. It is most useful as a frame surrounding attractive wall covering for a paneled effect on walls.
Shorts
A general term for lumber and moulding lengths under 6 feet.
Sill
The horizontal member forming the bottom of a window or exterior door frame; as applied in general to construction, the lowest member of the frame of a structure, resting on the foundation and supporting the frame.
Smooth Sawn
The surface is machined by fine saw work.
Softwood
Softwoods are one of the botanical groups of trees that have persistent needle-like or scale-like leaves. Most softwoods are evergreens.
Solid Moulding
Non-finger-jointed mouldings; solid length.
Specialty Millwork (architectural millwork)
Millwork manufactured by special order to suit a particular job.
Specified Lengths
Mouldings sold and shipped in lengths specified by the customer such as all “7 and/or 14-feet,” “8 and/or 16-feet,” “all 8-feet, ” etc.
Split Jamb
A two (sometimes three) piece split jamb consisting of a rabbeted and adjusting jamb section for walls of varying thickness; the rabbeted jamb contains a plow to receive the tongue of the adjustable member.
Stain
A discoloration of the wood. Brown stain is due to a chemical reaction occurring in the drying of some species. Blue stain is cause by the growth of mould like fungi on the surface or in the interior of the wood prior to the time the wood is dry. The stain does not effect the strength of the wood, and the growth of the fungi stops once the wood is dry. Stain, in grading rules is defined as light, medium, and heavy. Light stain is so slight that it does not effect the appearance for natural finishes. Heavy stain is permitted only in paint grades.
Sprung
The interior corner of a moulding “beveled off” to better fit a right angle joint; in contrast to non-sprung or plain moulding.
Sticker
A woodworking machine designed to run mouldings and other wood members with regular or irregular profiles.
Stock Millwork
Millwork manufactured in a standard size, pattern and layout, readily available from a distributor’s inventory and ready for installation.
Stool
A moulded interior trim member serving as a sash or window frame sill cap.
Stop
In door trim, stop is nailed to the faces of the door frame to prevent the door from swinging through. As window trim, stop holds the bottom sash of a double-hung window in place.
Straddle moulding
A two member decorative glass bead-like moulding around the light opening of a flush door.
Strike Jamb
The jamb opposite the hinge jamb on which the lock or strike plate is installed.
Tear Drop
A term given to mouldings with a gradual curved profile.
Tenon
A projection tongue-like part of a wood member to be inserted into a slot (mortise) of another member to form a “mortise and tenon joint.”
Toned
Moulding pre-finished by staining and top-coating.
Torus
A large bead; opposite of scotia; rope like moulding.
Trim
Millwork, primarily mouldings and/or trim to finish-off (trim around) windows and door openings, fire-places, walls and other members. See also- Door Trim; Exterior Trim; Interior Trim; Running Trim; Window Trim
Trimbacks
Odd lengths developed in the manufacture of cut-to-length finger jointed mouldings.
Trimming Out
Installing “trim”; sometimes refers to interior finish.
Vinyl Wrapped Moulding
A wood moulding pre-finished by wrapping with vinyl film, either in wood grains and colors or solid un-grained color.
Wainscot
A lower interior wall surface (usually 3 to 4 feet above the floor) that contrasts with the wall surface above it; an interior wall composed of two different interior wall surfaces on above the other.
Wainscot/ Plycap Moulding
Covers and beautifies plywood’s/ wainscot’s upper edge or rough sandwich edge in installation where it is exposed to view.
Wane
Bark or lack of wood from any cause, except eased edges, on the edge or corner of a piece of lumber.
Water-Repellent Preservative
A solution of a water-repellent and wood preservative used to prevent decay and resist insect damage; stabilizes wood.
Wet-Use Adhesives
An adhesive capable of producing sufficient bond strength to make the glued lumber product serviceable under nonstructural use while exposed at an Equilibrium Moisture Content (EMC) of 16% or greater and the temperature may reach as high as 165 degrees Fahrenheit (74 degrees Celsius) at times during service.
Window Trim
The moulding and/or trim necessary to “finish” or “trim” a sash or window frame.
WM
Stand for the Wood Moulding Association whose members always manufacture to the industry’s highest standards using renewable resources.
Warp
Any deviation from a true or plane surface, including bow, crook, cup and twist and any combination thereof. Warp restrictions are based on the average form of warp as it occurs normally, and any variation from this average form, such as short kinks, shall be appraised according to its equivalent effect. Pieces containing two or more forms shall be appraised according to the combined effect in determining the amount permissible. Warp may be classified as very light, light, medium, and heavy.
Bow is a deviation flatwise from a straight line drawn from end to end of a piece. It is measured at the point of greatest distance from the straight line. The amount permitted according to the drade is as follows: If under 2″ thick, three times as much as crook permitted for 2″ faces. If 2″ thick and under 3″, twice as much as crook permitted for 2″ faces. If 3″ thick and over, the same as the amount of crook permitted for that thickness.
Crook is a deviation edgewise from a straight line drawn from end to end of a piece. It is measured at the point of greatest distance from the straight line.
Cup is a deviation in the face of a piece from a straight line drawn from edge to edge of a piece. It is measure at the point of greatest distance from the straight line.
Twist is a deviation flatwise, or a combination of flatwise and edgewise, in the form of a curl or spiral, and the amount is the distance an edge of a piece a one end is raised above a flat surface against which both edges