DIY Accent Wall: Quick Start
In light of the recent events, I think we all have come to the conclusion that there are only so many closets and cabinets that can be organized, only so many surfaces that can be cleaned and how many times can the same room be vacuumed? What better time to add some architectural design to that wall that just needs a little oomph. A simple DIY project can help pass the time and elevate the design of your home for when we no longer have to social distance.
A moulding accent wall is an easy and affordable DIY project that just about anyone can do with the right tools. Luckily you can find Woodgrain products at Home Depot; which has been deemed an essential business. For those of you who would rather not leave the house; you can purchase everything you need for your project at Homedepot.com and have it delivered directly to your front door! Below are a couple examples of accent walls that we have personally done to help start get the creative juices flowing.
5 steps DIY accent wall
When starting your DIY accent wall there are 5 steps that we encourage to take to ensure a smooth process!
5 Steps:
Planning: In this step you will decide on the design of your accent wall. This will determine what products and tools you will need. Quick Tip: Draw out your design on a piece of paper.
Measuring: In this step you will measure the height and width of the wall. This will help you determine how much moulding you need to purchase.
Install: This step includes installing the product. Quick Tip: Make sure to use the level in this step.
Finishing: In this step you will want to prep the moulding and wall to make sure it’s ready for paint. This is where you caulk any nail holes, gaps, and seams. Quick Tip: Once the caulking is dry, sand the moulding to ensure a smooth finish.
Painting: This is the final step. Paint the wall and moulding your desired color. Quick Tip: Make sure to use a paintbrush on the moulding portions of your accent wall and go with the grain of the wood.
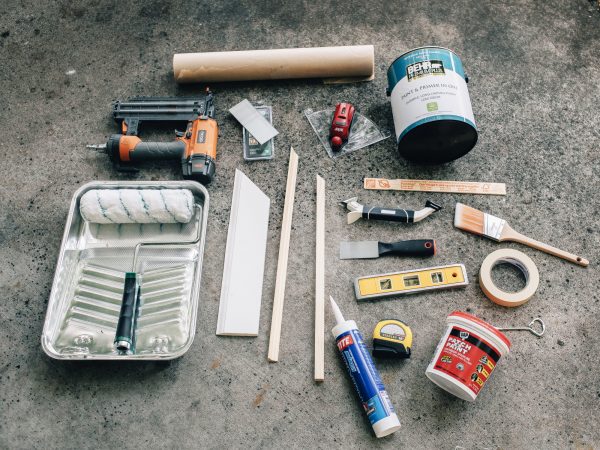
Tools:
Pencil, paper, & eraser
Measuring Tape
Caulking / Caulking tool
Spackle / Spackling Knife
Level
Miter Saw
Nail Gun
Sanding Paper/ Electronic Sander
Paint Roller, Paint Brush, Paint Tray
Tape / Drop cloth
Paint
Colonial Corners
Profiles: 100 Cove Mould / 239 Square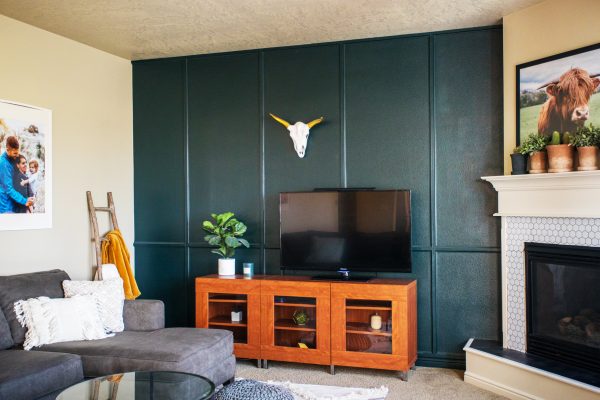
Victorian Lattice
Profiles: 239 Square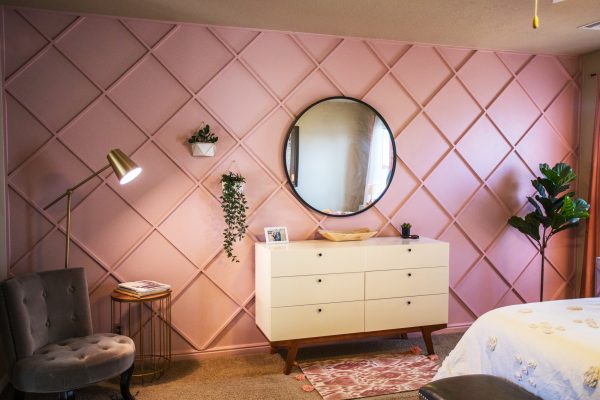
Shiplap
Product: 1×4 S4S Board
This shiplap wall isn’t created with your typical tongue and groove shiplap. We used a standard 1×4 S4S board and created our own gaps in between the boards by spacing them out.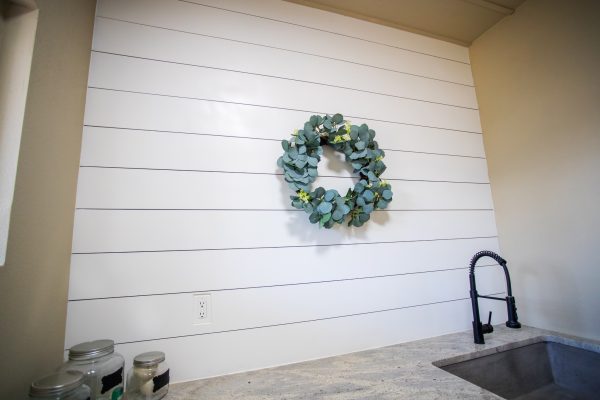
Modern Jigsaw
Profiles: 1×2 S4S Board / Base – 1×4 S4S Board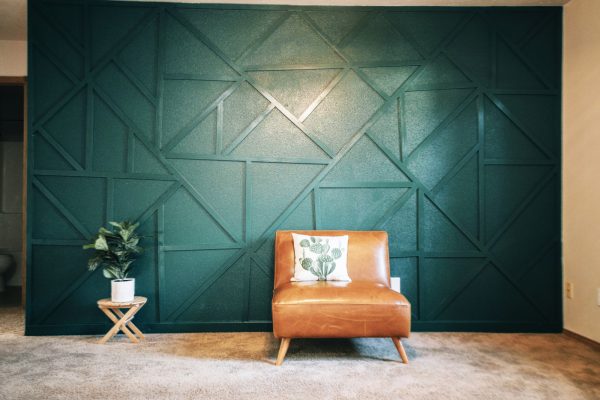
Products used for reference: 239 Square Dimensions: 3/4” x 3/4”
 100 Cove Mould Dimensions: 11/16” X 11/16”
 1×2 S4S Board Dimensions: 11/16” X 1-1/2”
 1×4 S4S Board Dimensions: 11/16” X 3-1/2”
Stay tuned for upcoming how to YouTube videos and blog posts on these specific accent walls and many more! Don’t forget to tag us @wearewoodgrain. We would love to see your accent walls!